
A successful project start
Nothing is more helpful than a successful start for your new book project. Here you'll find everything you need to get there safely and quickly.
Product types
Structure and specifics
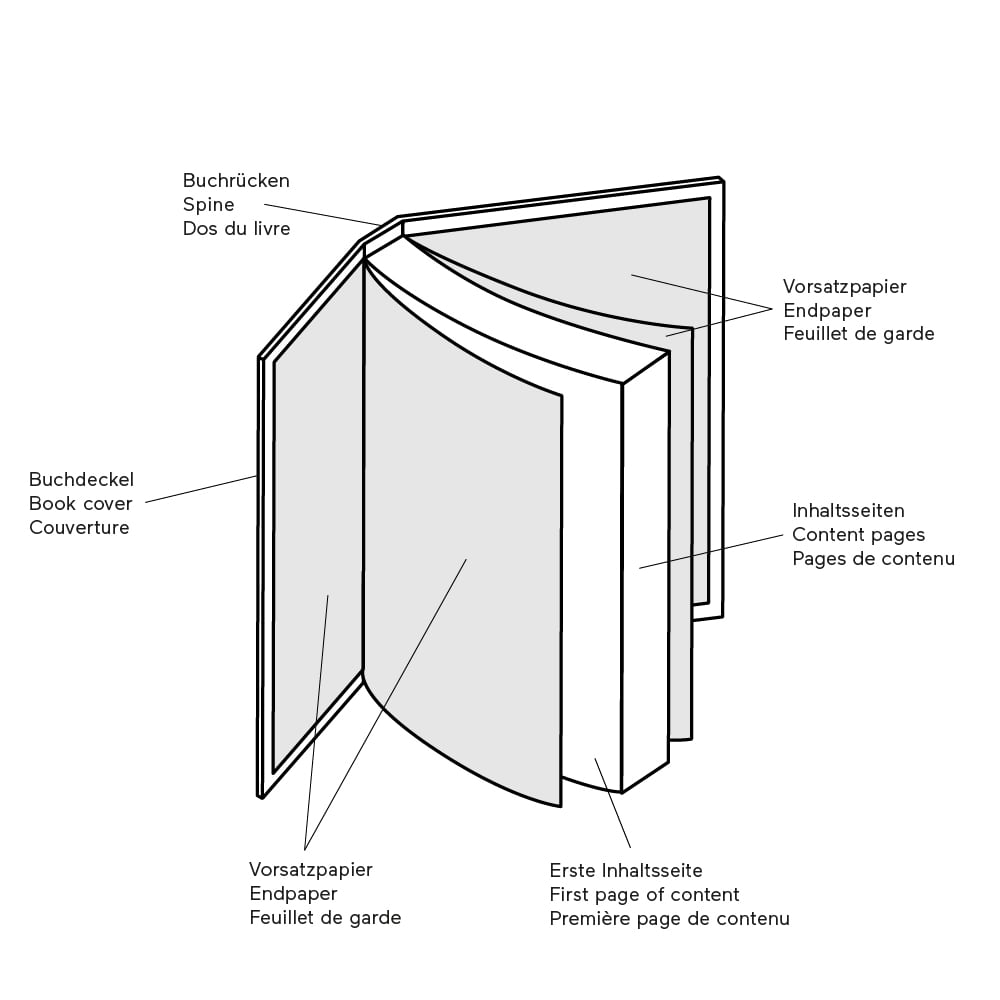
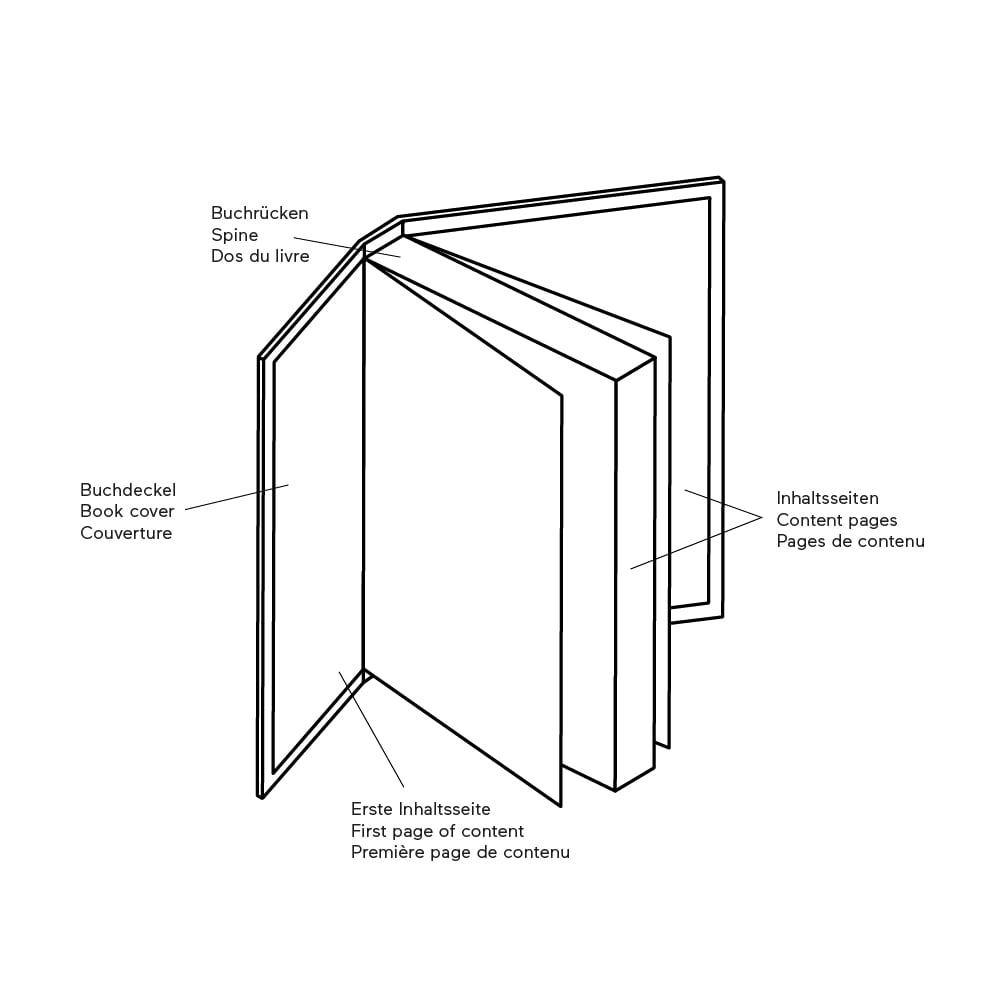
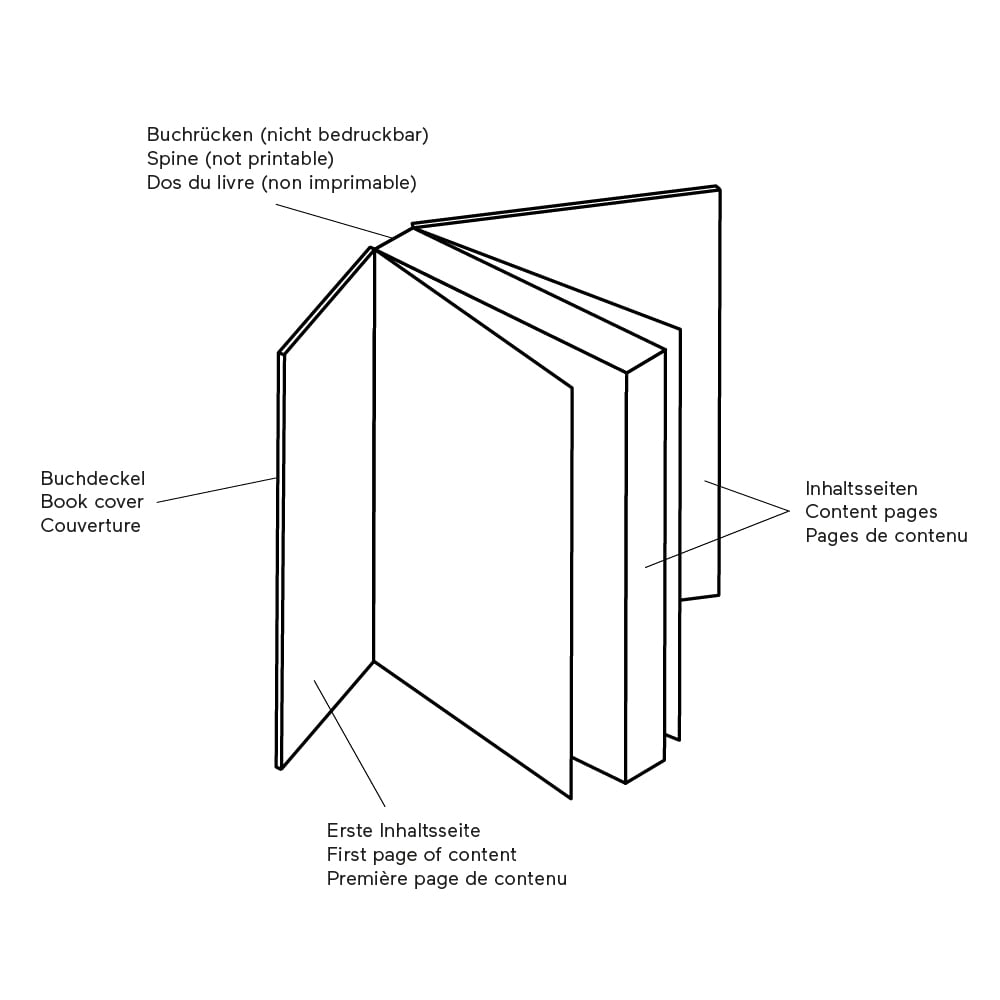
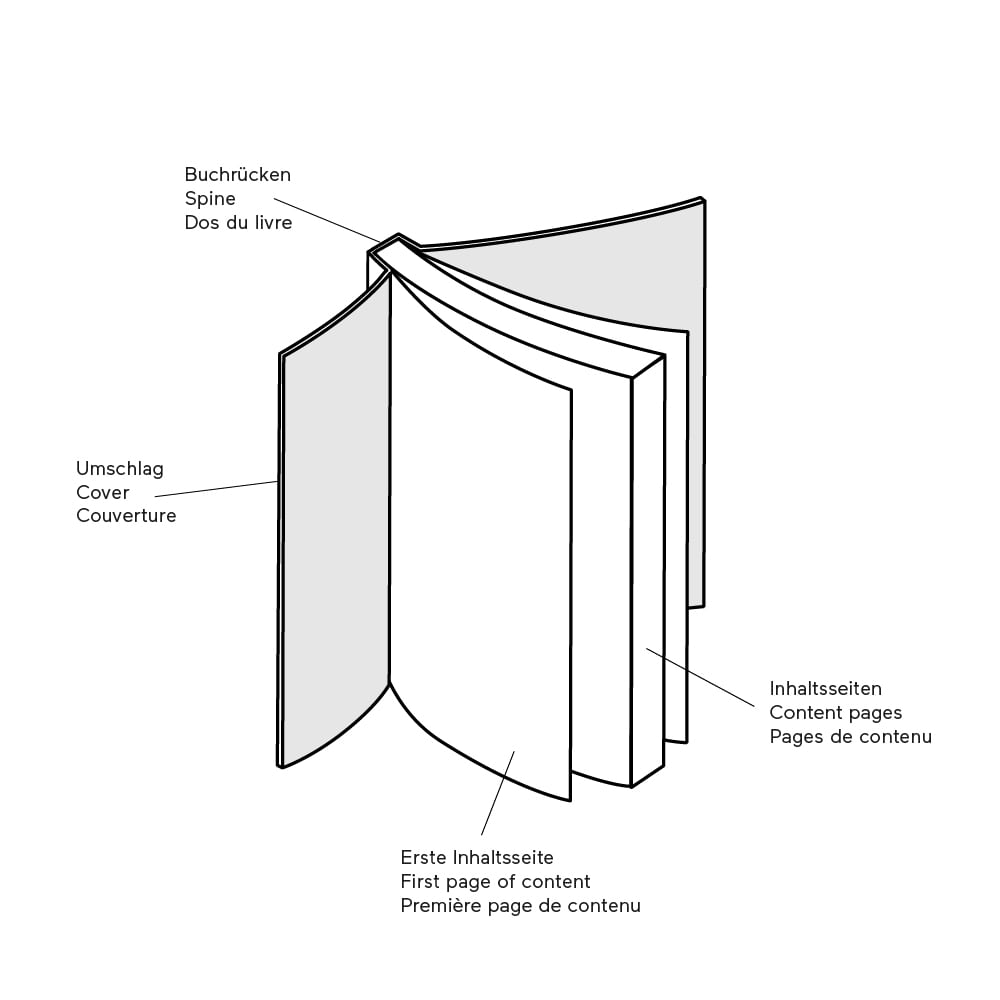
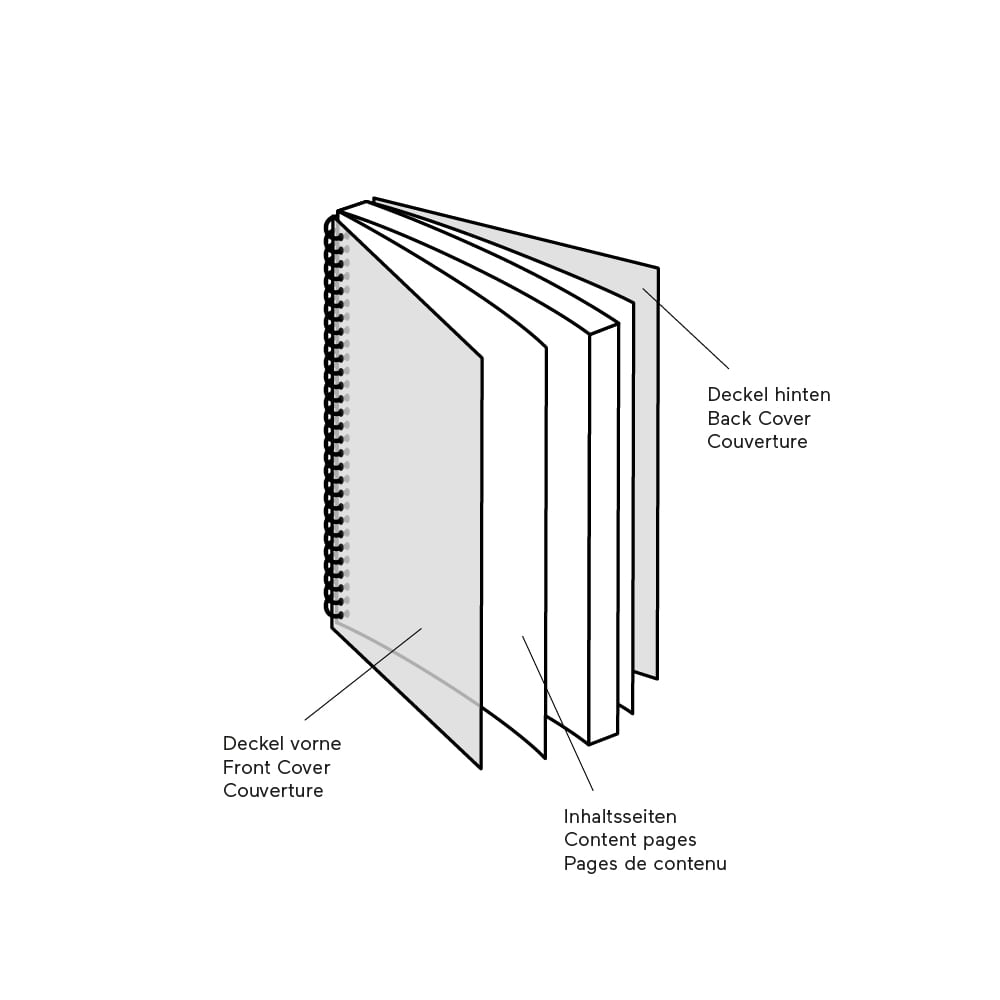
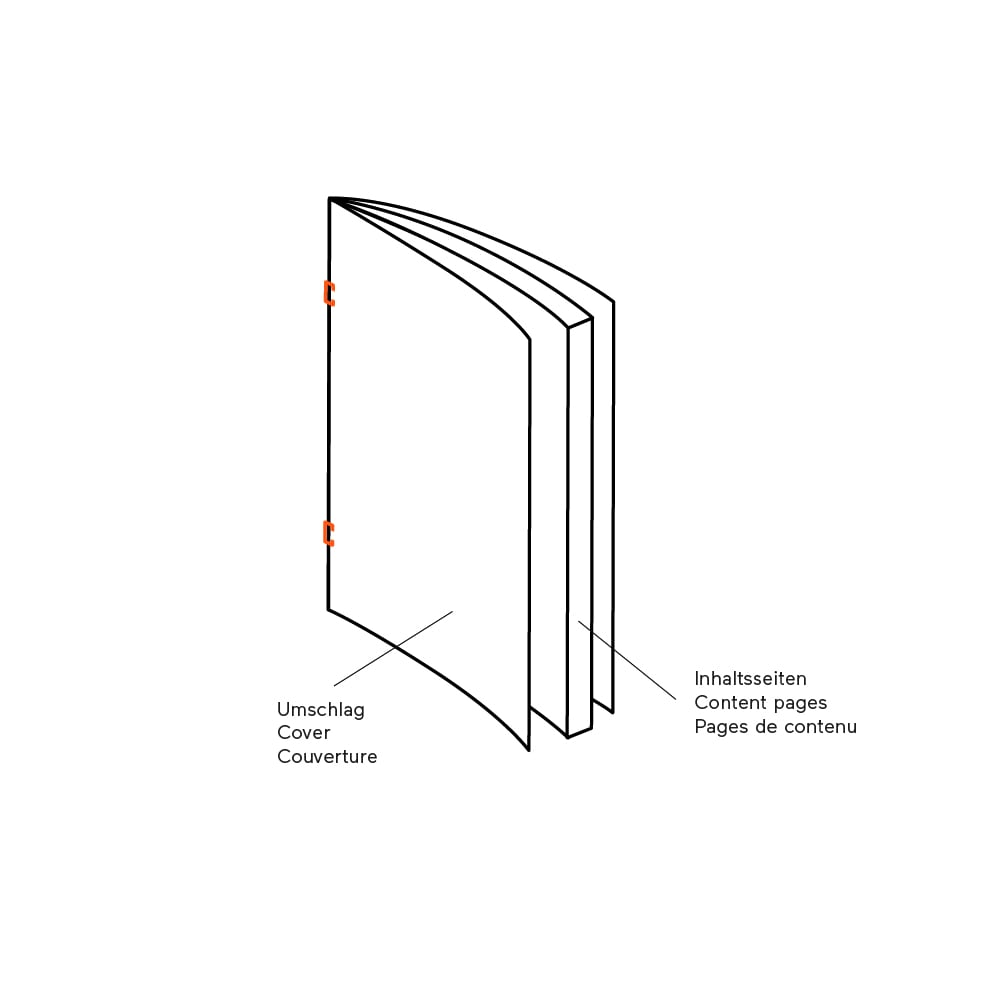
The different product types including the corresponding binding types are shown graphically below. Please note that the different product types differ in terms of structure.
The graphic should give you a better picture of your future project (e.g. where are the endpapers and the first content page placed or whether the first content page is on the left or right side).
Download templates
Use our templates for a quick start
What kind of application do you use for your project?


For which format do you want to download a layout template?
PDF size for content and cover
Download PDF sample file
Download the sample PDF for the content and cover of your project here. Then set up the page size in your layout program so that it matches the sample PDF.
For a quick start, you are well prepared with our templates.
Important: Please note that the cover or spine will change depending on the product type, the number of content pages and the selected paper. You can therefore only determine the final size of the cover when the exact number of pages and the product configuration are known.
How do I design my cover correctly?
When designing the cover, many questions can arise. For the most important of them, we have answers ready for you: What size does my cover document need to be? Where can I see the size of my spine or the visible design area for the cover? I don't have a professional layout program. What alternatives do I have to design my cover?
Cover design tips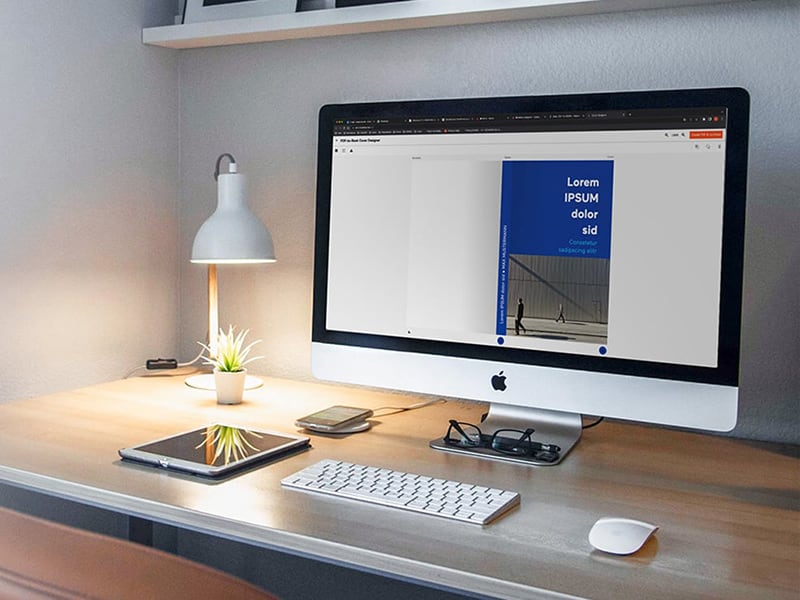
PDF file requirements and correct export
In order for your PDF to print optimally, a standardized PDF is required which meets the following criteria:
- Content: Single page PDF
- Cover: see PDF sample file
- PDF standard: X-4
- no crop marks, print marks or registration marks
- Embed fonts
- 3mm bleed or in final format (selectable in the configurator)
- No special colors (Pantone, HKS etc.)
- Architectural plans must be placed as an image
Guide to correct export from ...
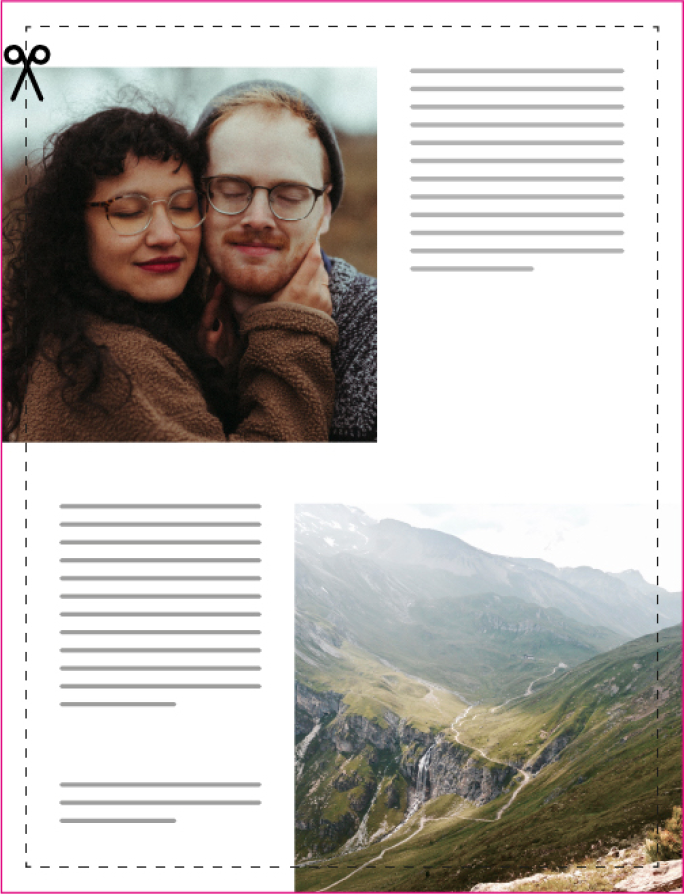
Bleed in the PDF
When is a bleed needed in content PDF?
3 mm bleed is necessary if your project contains elements that extend to the edge. Be sure to place these objects all the way into the bleed area. This will prevent white edges when cutting the pages.

If you do not know how to create the bleed area in your layout program, it is also possible to create the PDF in the final format. After uploading the print data, we will analyze the PDF and add the required bleed automatically.
When do I not need a bleed for my content PDF?
If you have a simple design, for example a thesis or a novel without images that extend to the edge, you can also export your document in the final format.
However, since we always need a bleed for processing, the «automatically generate bleed» function must be selected when uploading. If no elements are placed at the end format edge, the bleed area will be generated white, or in the background color of your document.

Images and color spaces
Image resolution
An image resolution of 300 dpi is optimal.
If an image has a resolution of less than 220 dpi, a warning will be displayed when hollow loading in the configurator.
Image color space
The following color spaces are supported:
- RGB images
- CMYK images
Please note that a monitor always displays RGB colors more saturated. Colors in print, however, are reproduced in the smaller CMYK color space. Therefore, we optimize your data so that the print result matches the output on a calibrated RGB monitor as closely as possible.
Color management for the professional Continue to profile set
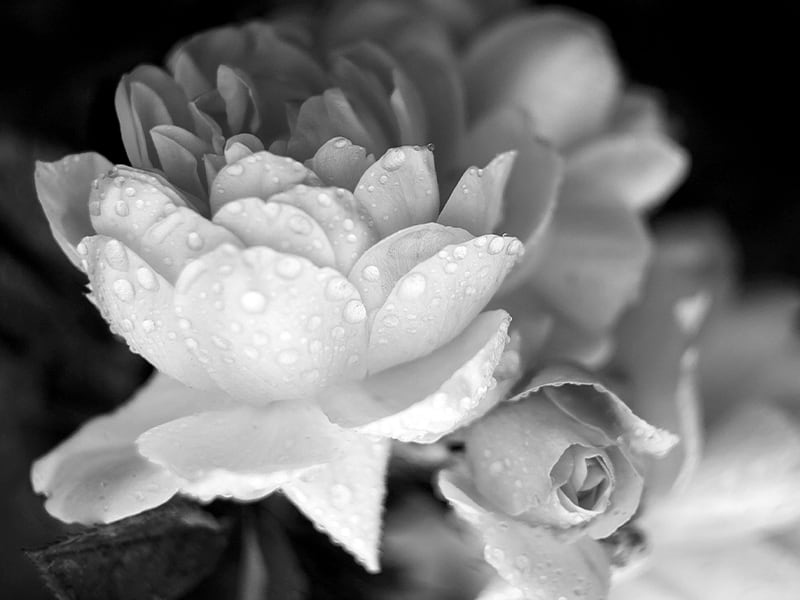
Black and white print
What to consider with black and white images
CMYK black and white image
We guarantee the best gray experience without color casts. Due to the new technology we use, your black and white image will be built up in CMYK without any disturbing color cast. Your images will look richer and more vibrant.
- Pros: Rich and contrasty black and white image without color cast
- Disadvantages: None
Convert your images for this print type using one of the following methods in Photoshop:
- For an RGB image, select -> Image/Mode/Grayscale then Image/Mode/RGB
- For a CMYK image select -> Image/Mode/Grayscale then Image/Mode/RGB
Monochrome black and white
If you want a more open, grayish black, we recommend converting the images to a monochrome black and white using Photoshop. The monochrome black will look more grayish when printed and will be less saturated than the black and white image in CMYK.
- Advantages: No color casts
- Disadvantages: Less saturated black and white image
Convert your images for this print type using one of the following methods in Photoshop:
- For an RGB image, select -> Image/Mode/Grayscale
- For a CMYK image, select -> Image/Mode/Grayscale

Are you using black areas in your project?
If you want to use black areas in your project, please make sure that you create them in 4 colors. For a rich and dark black, create a new color with the following properties:
- 100% Black, 70% Cyan, 70% Magenta, 70% Yellow
A solid black (100% Black in CMYK color space) will look rather grayish when printed.


Heidi Marty, Customer Advisor
Contact our «Family of Books» for questions about our online assortment.
Contact customer service